For Techne to DIY: Rhetorics of Craft with Krista Kennedy, we get to undertake a craft project of our own choosing throughout the course. After some mind wandering that turned into wandering the aisles of The Art Store on the walk home, I decided on screen printing. I’ve been wanting to learn to screen print for a few years now to mod odds and ends; it appeals to my punk state of mind, my propensity for found object possibilities, and my desire to get my hands dirty.
I’ve never screen printed before, aside from really basic letter stenciling to label items, which makes me a novice; for those instances, I used form letter stencils and spray paint – not very sophisticated. I’m interested in learning how to screen print on paper and fabric and the techniques associated with the different mediums. I’m also curious to discover different results based on choice of ink, fabric, and paper, and playing with layering. As far as what I will create, I’m not sure, as I can see any number of possibilities – gifts for people’s birthdays, signs for the TA offices, posters for program events, postcards to send to family, custom t-shirts, and whatever other visual inspiration strikes. Perhaps a better goal is to create one print per week, or to fill a jar with ideas and draw different inspirations for each composition. To determine what I would need to get started, I collected some resources:
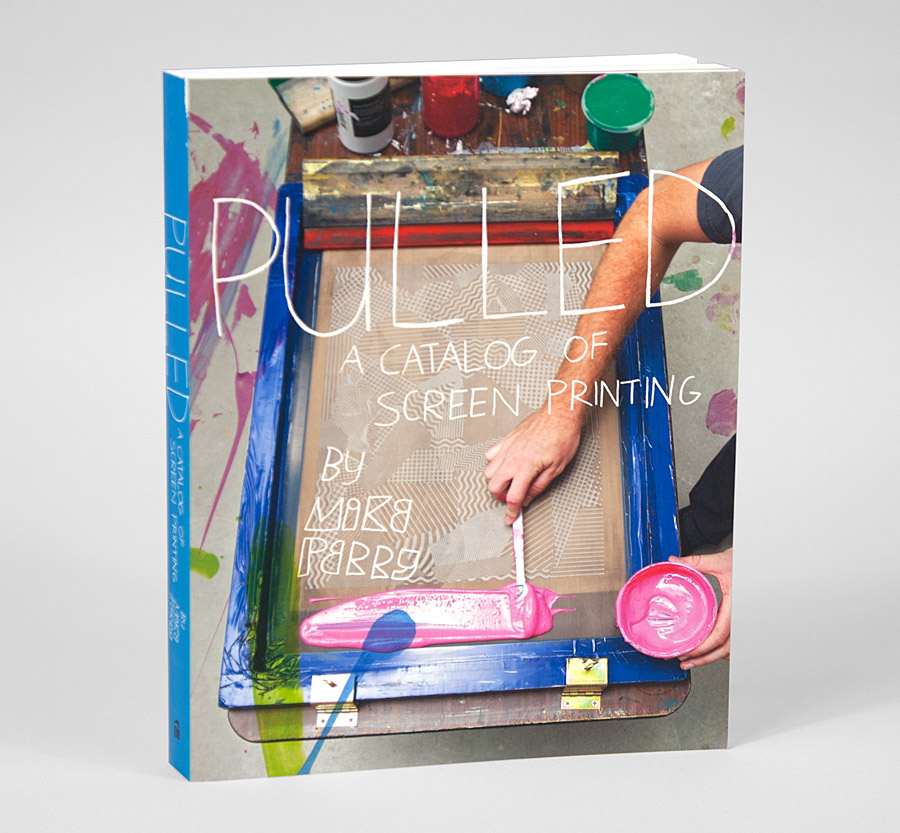
Pulled: A Catalog of Screen Printing by Mike Perry
This book went from my Amazon wishlist to my shopping cart before in the span of one sip of coffee…
a list of what was deemed essential for a beginner DIY kit (from their own kit inventories)
- 16×16 press
- wood screen w/ mesh (different grades for different detail – this one comes with 156)
- 500 Watt halogen exposure light
- light mounting fixture
- 11″ 70 durometer squegee
- 12″ emulsion scoop coater
- photo emulsion
- yellow bulb (for darkroom)
- printing ink
- screen degreaser
- emulsion remover
- pallet adhesive
- scrub pads
- silicone parchment paper for curing ink
- film positives
- french paper (for paper-based creations)
While these kits are cool in that they contain everything to get started, I think that I can assemble my own to save on cash, perhaps even building some of the more expensive pieces – like the screen. This lead to a search for DIY approaches using improvised equipment.
DIY Nylon Screen Print from Calico Skies:
This handy tutorial uses pantyhose and an embroidery hoop, which appealed to my desire for more control over my tools/cost. Instead of using emulsion, it utilizes ModgePodge to create negative space in the design (where color isn’t desired). It looks like a befitting approach for relatively simple and small designs (those that fit within an embroidery hoop).
P is for Printing from Fabric Paper Glue:
Really nice tutorial that walked through two different methods of DIY screen printing. It provided really useful information on the four methods (described in detail here):
- the paper stencil method
- the screen filler method
- the drawing fluid-screen filler method
- the photographic emulsion method
From reading, I decided I wanted to experiment first with the screen filler and drawing fluid-screen methods, and perhaps try building some of my own screens from picture frames I can pick up cheap. I will need:
- a mesh screen (still determining number values and their uses) and frame (detachable) – several sizes
- a squeegee
- drawing fluid
- screen filler
- various ink colors
- acrylic extender base (for transparent color)
- clothes iron and parchment paper for setting fabrics
- cleaner (washing soda and water)
Browsing elicited a ‘kid in the candy store’ effect. I think the difficult thing to do will be to keep my design ideas within a budget (I’m not an art class studio, as much as I want the fitting materials). I think I would like to keep my materials local as found/salvaged, custom made, or from the local art supply store in my neighborhood.
End result? Hopefully things like this (and other things too):

“In The Summer, I’m Dreaming Of You” by Mark Warren Jacques
